Sketch to Thumbnail: From Rough Drawing to Finished Art
Draw a rough layout in the tool's canvas or upload a sketch, add a short line of context naming the shapes, and the AI turns it into a finished thumbnail that follows your composition. The sketch does not need to be good; a stick figure is enough, because the tool reads layout, not artistry.
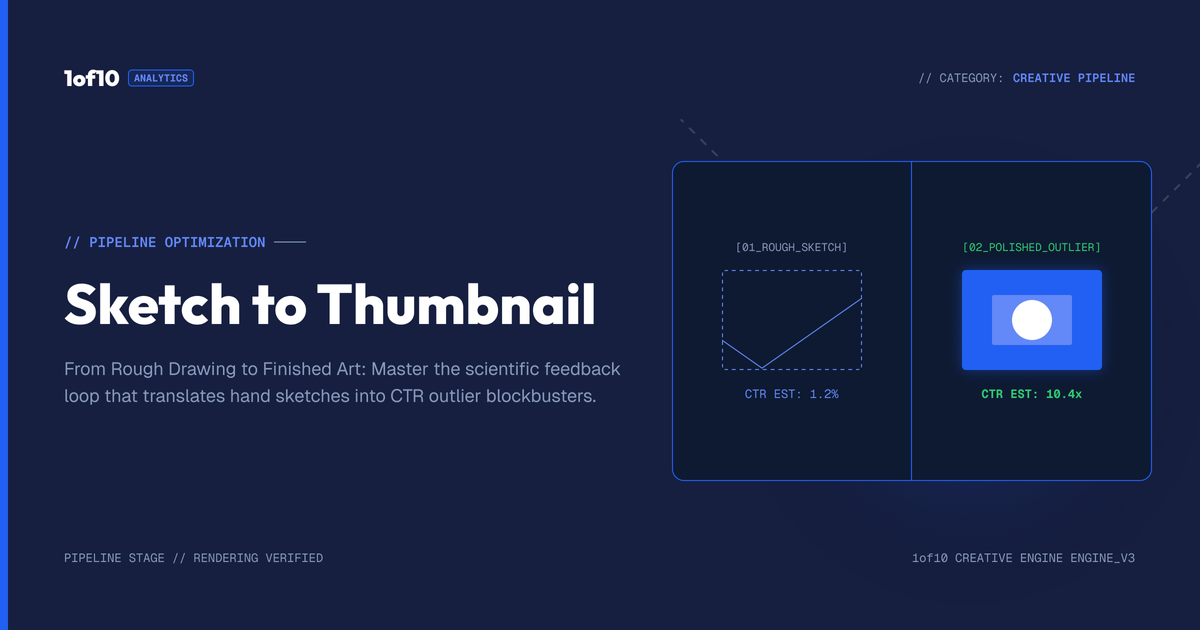
Quick answer: Draw a rough layout in the tool's canvas or upload a sketch, add a short line of context naming the shapes, and the AI turns it into a finished thumbnail that follows your composition. The sketch does not need to be good; a stick figure is enough, because the tool reads layout, not artistry.
You have a clear picture in your head of where everything should sit in the thumbnail. The face here, the object there, an arrow pointing at the thing, text in the corner. Describing that layout in words is clumsy, and a lot gets lost between your mental image and what the tool renders. There is a faster way: draw it. The 1of10 Thumbnail Generator turns a rough sketch into a finished thumbnail, and the surprising part is how rough the sketch can be. A crude stick figure is enough. This guide covers both ways to sketch, why bad drawings still work, and how to combine a sketch with a few words to nail the composition you are imagining.
For the full tool, see The Complete Guide to the 1of10 Thumbnail Generator. This post is about the fastest way to control composition.
Why sketch at all
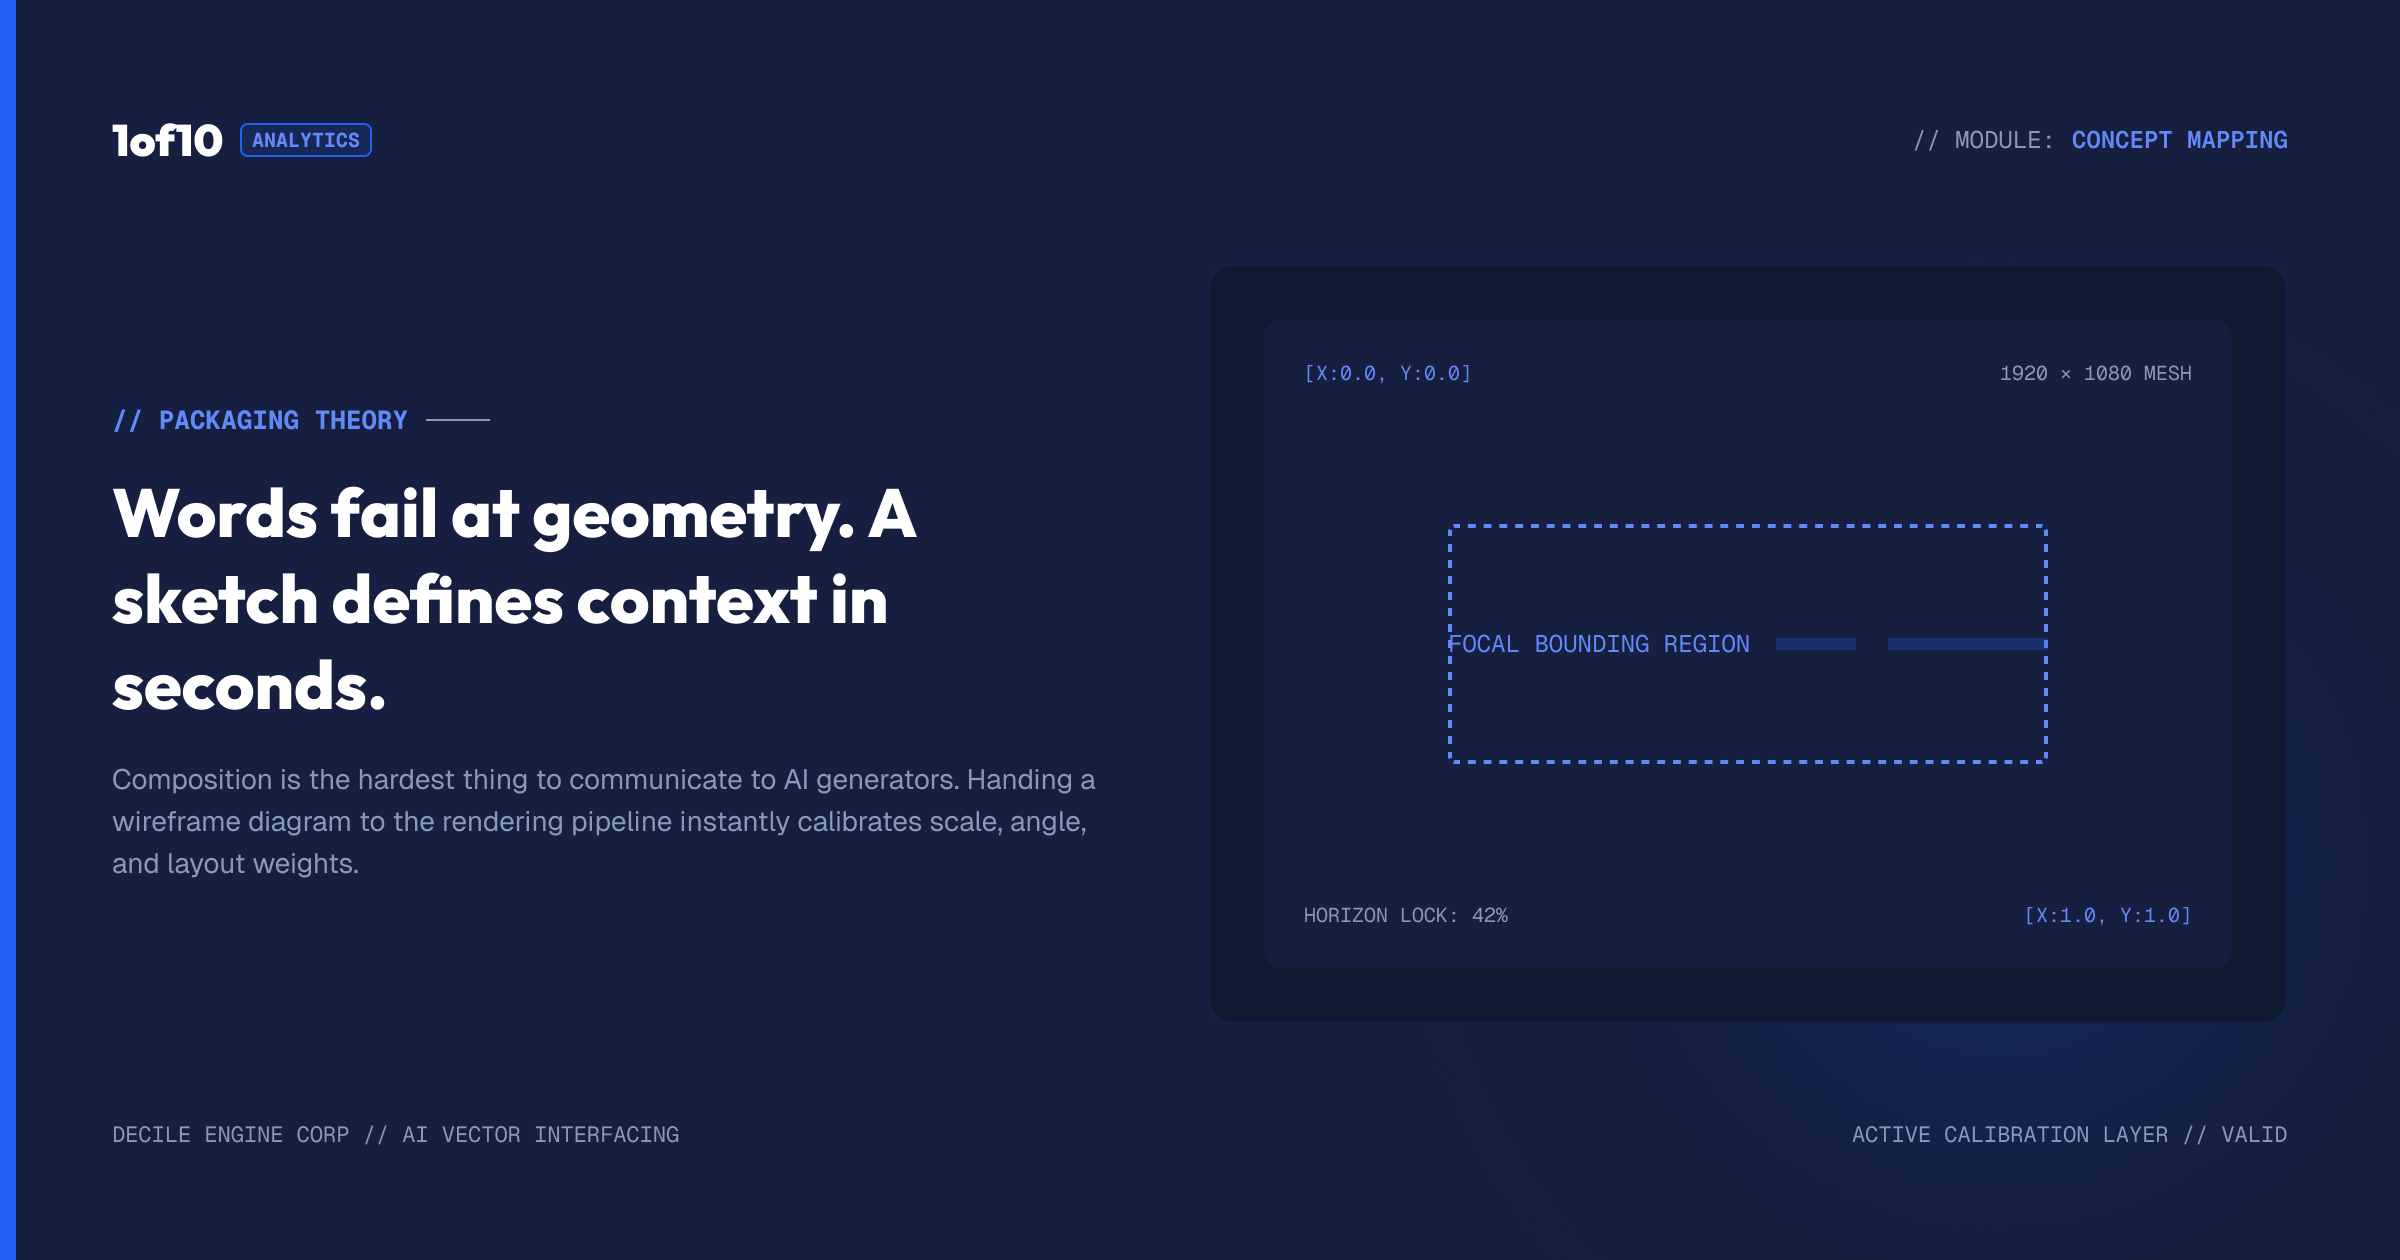
Composition is the hardest thing to communicate to an AI tool in words. You can describe a subject, an action, and a background, and still end up with everything arranged differently from what you pictured. A sketch fixes that in seconds. It tells the tool exactly where things go: the placement, the scale, the angle, the pointing arrow, the spot for text. You are handing over a map instead of directions, and the tool follows the map.
This makes sketching the input of choice when you care about layout specifically. If you know you want the creator on the left, a giant object on the right, and an arrow connecting them, a ten-second drawing communicates that better than a paragraph ever could. It pairs naturally with The Detailed-Prompt Method, where the prompt handles the what and the sketch handles the where.
Two ways to sketch
The tool gives you two routes, depending on whether you want to draw inside the tool or bring a drawing in.
Build a sketch in the tool. The generator has a sketch canvas built in. Open it, select the draw tool, and start drawing. It is deliberately simple: a pen, basic tools, and enough to rough out a layout. You do not need any art skill, and you are not making anything anyone will see. You are making a guide for the AI. When you are done, hit use sketch and it feeds into your generation.
Upload an existing sketch. If you already drew something, on paper, in another app, or even a reference thumbnail whose composition you want to echo, upload it through the plus icon. The tool reads the layout the same way it reads one you drew in the canvas. This is handy when you sketch on a tablet, or when you want to recreate the composition of a thumbnail that worked without copying it outright.
Both routes end the same way: the tool takes your rough layout and builds a finished, on-brand thumbnail around it.
Why a bad sketch still works
This is the part people do not believe until they try it. Your sketch does not need to be good. A stick figure with a line for an arm holding a rectangle for a sword, an arrow, and the word "cold" scrawled next to it is enough. The tool is not tracing your drawing. It is reading the composition: where the figure stands, where the object is, where the arrow points, where the text goes. Then it renders a polished, realistic thumbnail that follows that arrangement.
Think of the sketch as a blueprint, not a painting. A blueprint for a house is not a beautiful drawing of a house; it is lines that say where the walls go. Your thumbnail sketch works the same way. The cruder it is, the more you should lean on the next step, context text, to make sure the tool knows what your shapes represent.
What the sketch canvas gives you
The built-in canvas is intentionally minimal, because you are making a guide, not a masterpiece. You get a draw tool to lay down lines and shapes, a few basic options to work with, and a clear space to rough out your layout. Select the pen, sketch where the subject stands, block in the object, draw an arrow, mark where text goes, and you are done. There is no learning curve because there is almost nothing to learn, which is the point. The whole interaction is meant to take seconds, not minutes.
If you make a mistake, clear it and redraw. Nobody sees this drawing, it never ships, and it does not need to be neat. The canvas exists for one job: capturing the arrangement in your head fast enough that you do not lose the idea while you fight with tools. When the layout is roughed in, hit use sketch and move to the context text.
Give the tool context
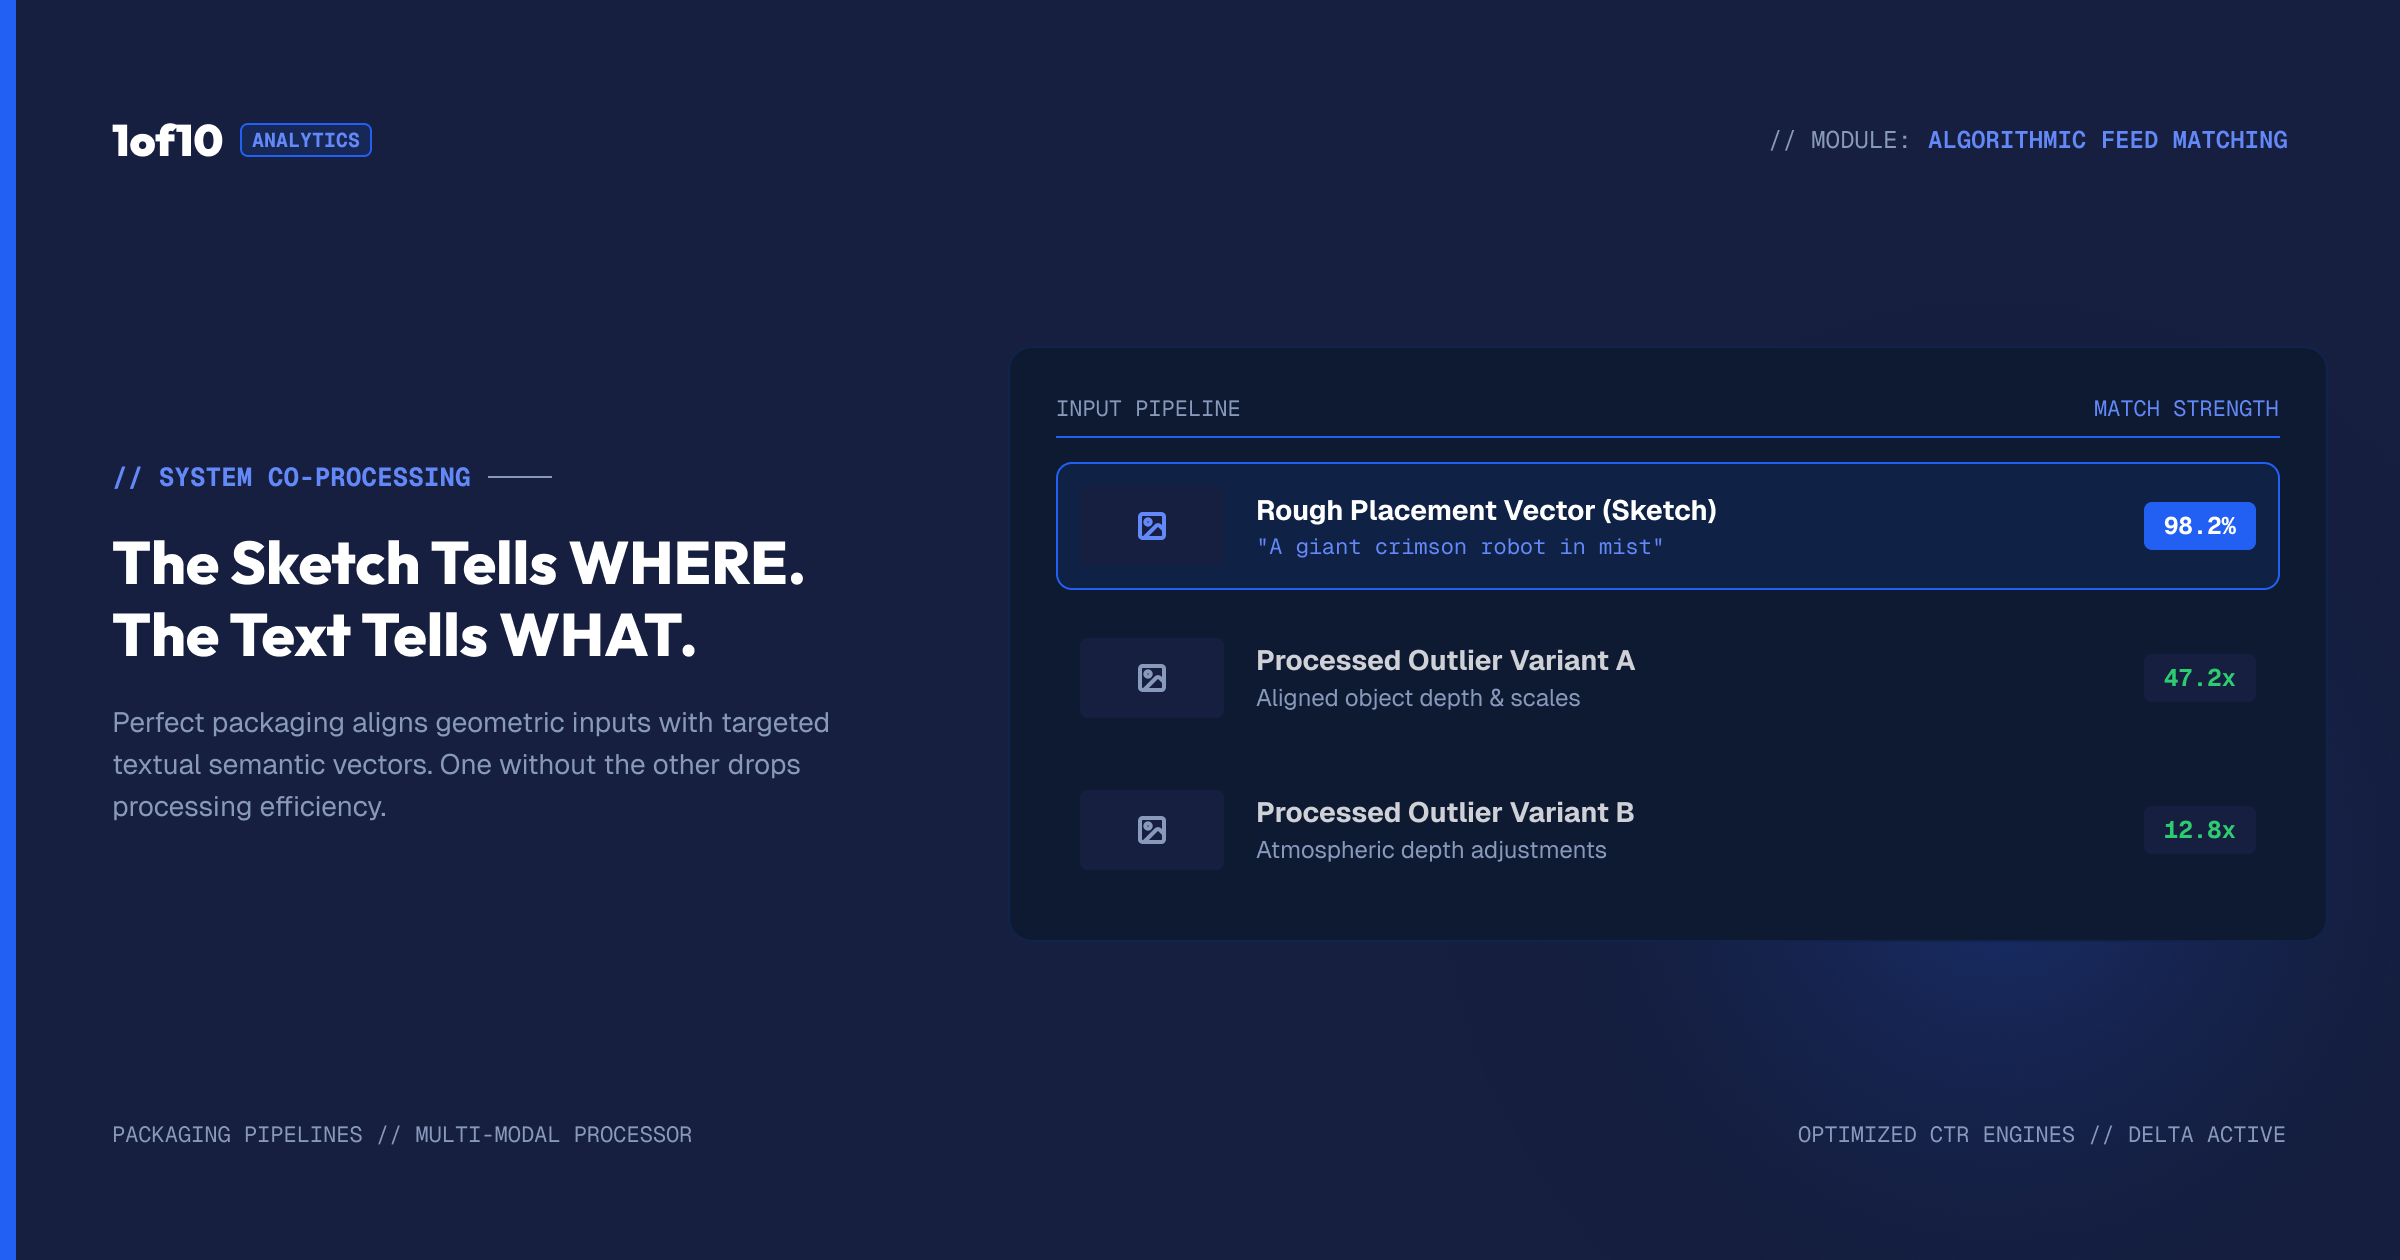
A sketch shows the tool where things go. It does not always tell the tool what they are. A rectangle could be a sword, a phone, or a chocolate bar. That is why you pair the sketch with a short line of context.
After you feed in the sketch, add a brief prompt that names the pieces. Lead with the title for context, then describe what the shapes are. For the ice katana example: start with the title "I Built a Deadly Ice Katana," then add a few guidelines like "blue sky background, the sword is made of ice, white text reading COLD pointing at the blade, in a field, static shot." Now the tool knows your stick figure is the creator, your rectangle is an ice sword, and your scrawl is the text. It renders the composition you drew with the meaning you described.
The pattern is simple: the sketch handles placement, the words handle identity. Together they give the tool a complete picture.
A worked example
Here is the full flow on a real thumbnail.
- Open the sketch canvas in the generator.
- Draw the layout. A stick figure of the creator holding a long shape for the sword, side on. An arrow pointing at the blade. A spot marked for the word "cold." It looks terrible. That is fine.
- Hit use sketch.
- Add context text. Title first, then: "Blue sky background. The sword is made of ice. White text reading COLD labelling the blade. In a field. Static shot, no action."
- Generate. The tool returns four finished thumbnails that follow your layout: the creator side on with an ice blade, the arrow and text in place, a real sky behind them.
- Pick and refine. Choose the strongest, then take it to the editor for final touches.
The whole thing takes a couple of minutes, and the sketch did the heavy lifting on composition that words would have struggled with.
When sketching beats pure prompting
Reach for a sketch when:
Layout is the point. You know exactly where everything should sit and want the tool to respect that arrangement precisely.
You are recreating a proven composition. Upload a sketch or reference of a layout that works and let the tool build your version of it.
Words keep failing you. If you have prompted three times and the arrangement is still wrong, stop describing and start drawing. A sketch resolves placement disputes a prompt cannot.
You think visually. Some creators find it faster to draw a rough idea than to translate it into a paragraph. If that is you, sketch first.
For thumbnails where the composition is loose and the subject matters more than the arrangement, a detailed prompt alone is often enough. Use the sketch when the layout is doing the work.
Turning a winning sketch into a repeatable template
Once a sketch-built composition performs well, you have something reusable. The layout that worked, the creator on the left, object on the right, arrow connecting them, text in the corner, is now a proven template for your channel. Save the sketch, or just remember the arrangement, and reuse it for future videos by swapping the object and the text while keeping the structure.
This is how channels build a recognizable thumbnail style. A consistent composition across videos trains your audience to spot your content in a crowded feed, and it removes a decision from every upload. You are not reinventing the layout each time, you are filling a format that already works. The sketch route makes this easy because re-drawing a known layout takes seconds, and the history and folders in the tool let you keep your proven compositions together. Pair this with the concept bank in 50 Thumbnail Ideas That Actually Get Clicks to keep a running set of layouts worth reusing.
Sketching for Shorts and landscape
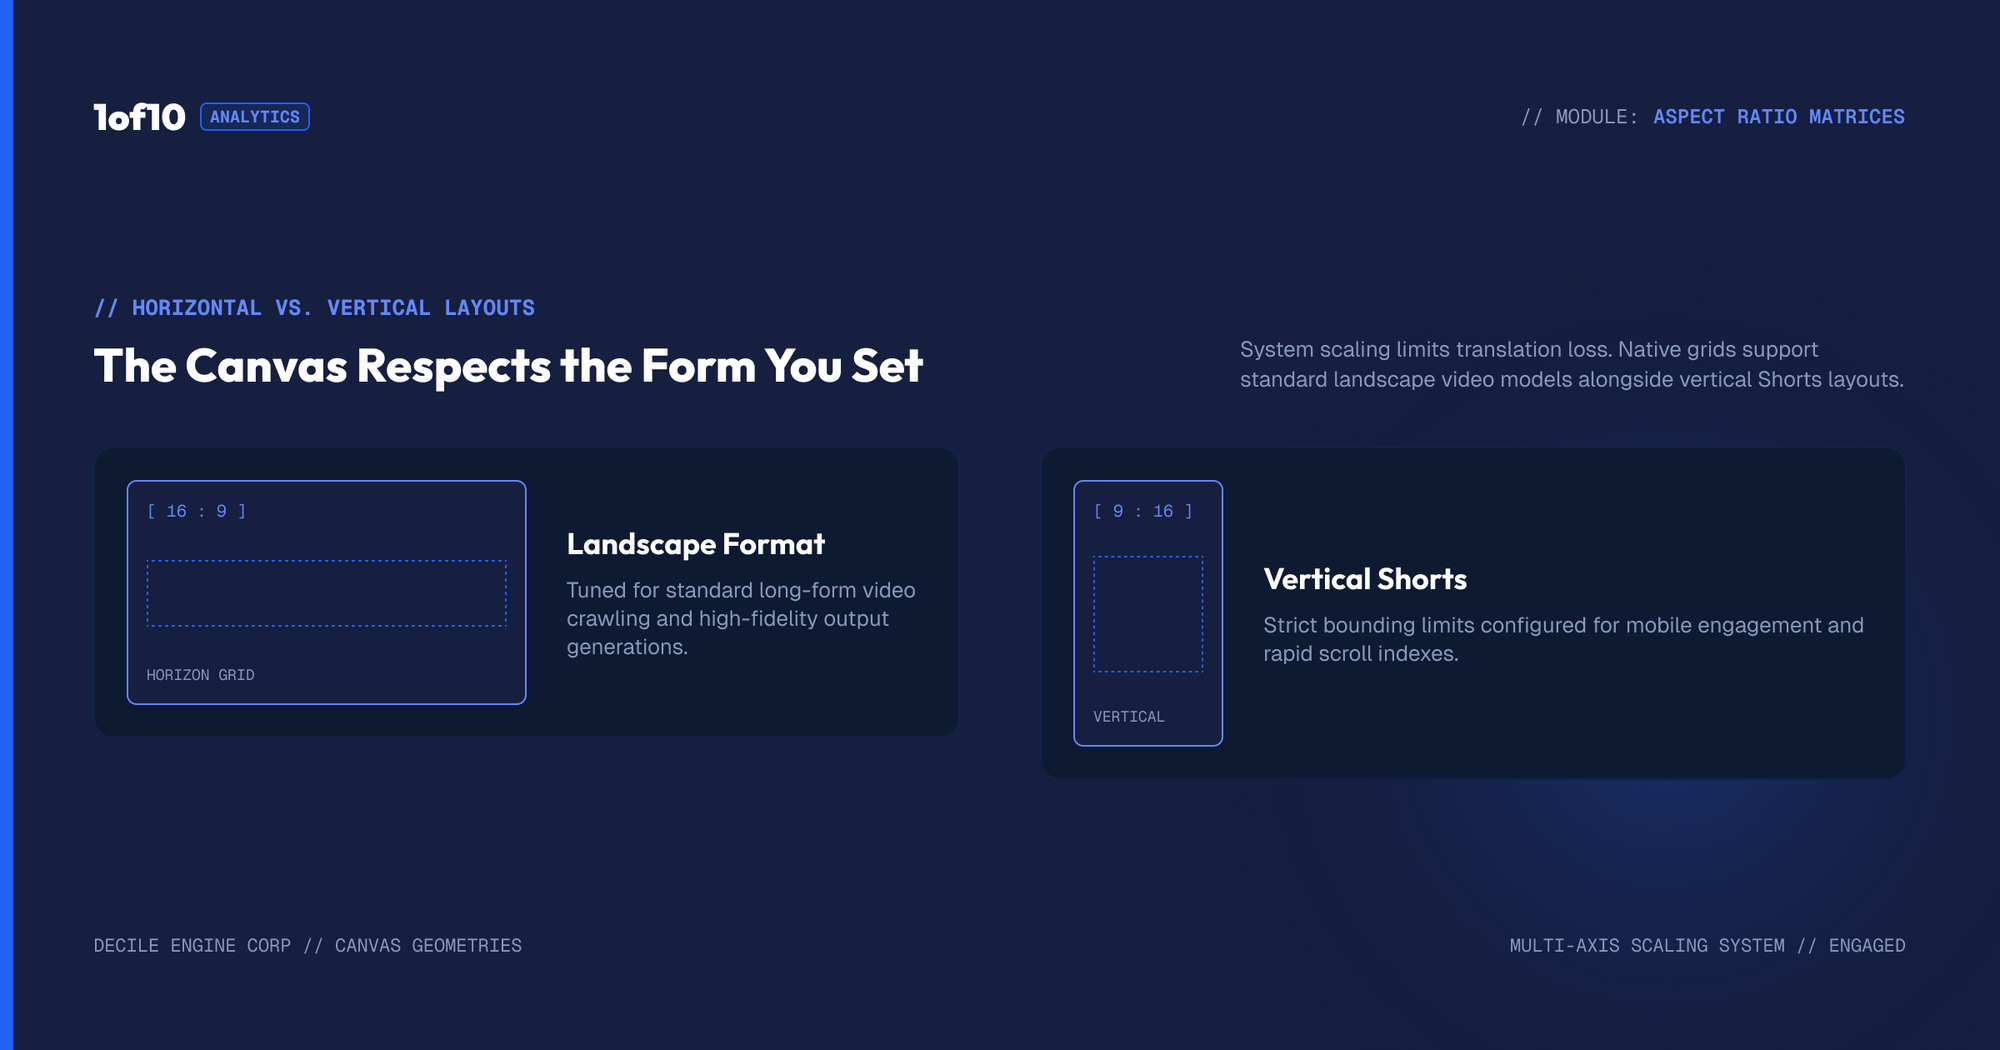
The sketch route works in both formats, and the canvas respects the shape you set. If you are building a vertical Shorts thumbnail, set the format to Shorts first, then sketch a tall layout: subject centred or upper, text stacked above or below, key elements kept clear of the top and bottom edges. If you are building a landscape thumbnail, sketch wide: subject on one side, object or text balancing the other. Drawing in the right shape from the start means the tool composes for the correct format, and you avoid the trap of a layout that only works in one orientation. For the full format strategy, see Landscape vs Shorts Thumbnails.
Sketch plus the other inputs
A sketch combines with the rest of the tool. You can sketch the layout, add a reference image of a real object so the tool renders the actual thing, set a background, and add face shots for likeness, all on the same generation. The sketch governs arrangement while the other inputs lock specifics. The full input menu is covered in Reference Images, Backgrounds and Face Uploads. And like every input, the sketch carries through the iteration loop, so as you add correction lines and regenerate, the composition you drew stays in place while the tool refines the details.
Simple sketch layouts that work
You do not need original compositions to start. A handful of layouts perform across almost every niche, and they are trivial to sketch.
The left-right split. Subject on one side, the object or the payoff on the other, an arrow connecting them. Sketch a figure on the left, a shape on the right, an arrow between. This reads instantly and works for builds, reviews, and reveals.
The hero object. One big shape dominating the frame with a small figure reacting. Sketch a large central object and a small stick figure in a corner. Good when the thing itself is the draw.
The face and the stakes. A big face on one side showing emotion, the thing they are reacting to on the other. Sketch a large head with an expression marker and the object opposite. Reaction-driven content thrives on this.
The pointing arrow. Any layout with an arrow drawing the eye to the key element. The arrow is one of the most clickable devices in thumbnail design, and a sketch makes its placement exact.
Sketch one of these, name the pieces in your context text, and generate. As you learn which layout your audience responds to, it becomes your channel's default, the kind of repeatable template covered above. For the design thinking behind why these work, see Thumbnail Design: The Complete Guide to More Clicks.
Common mistakes
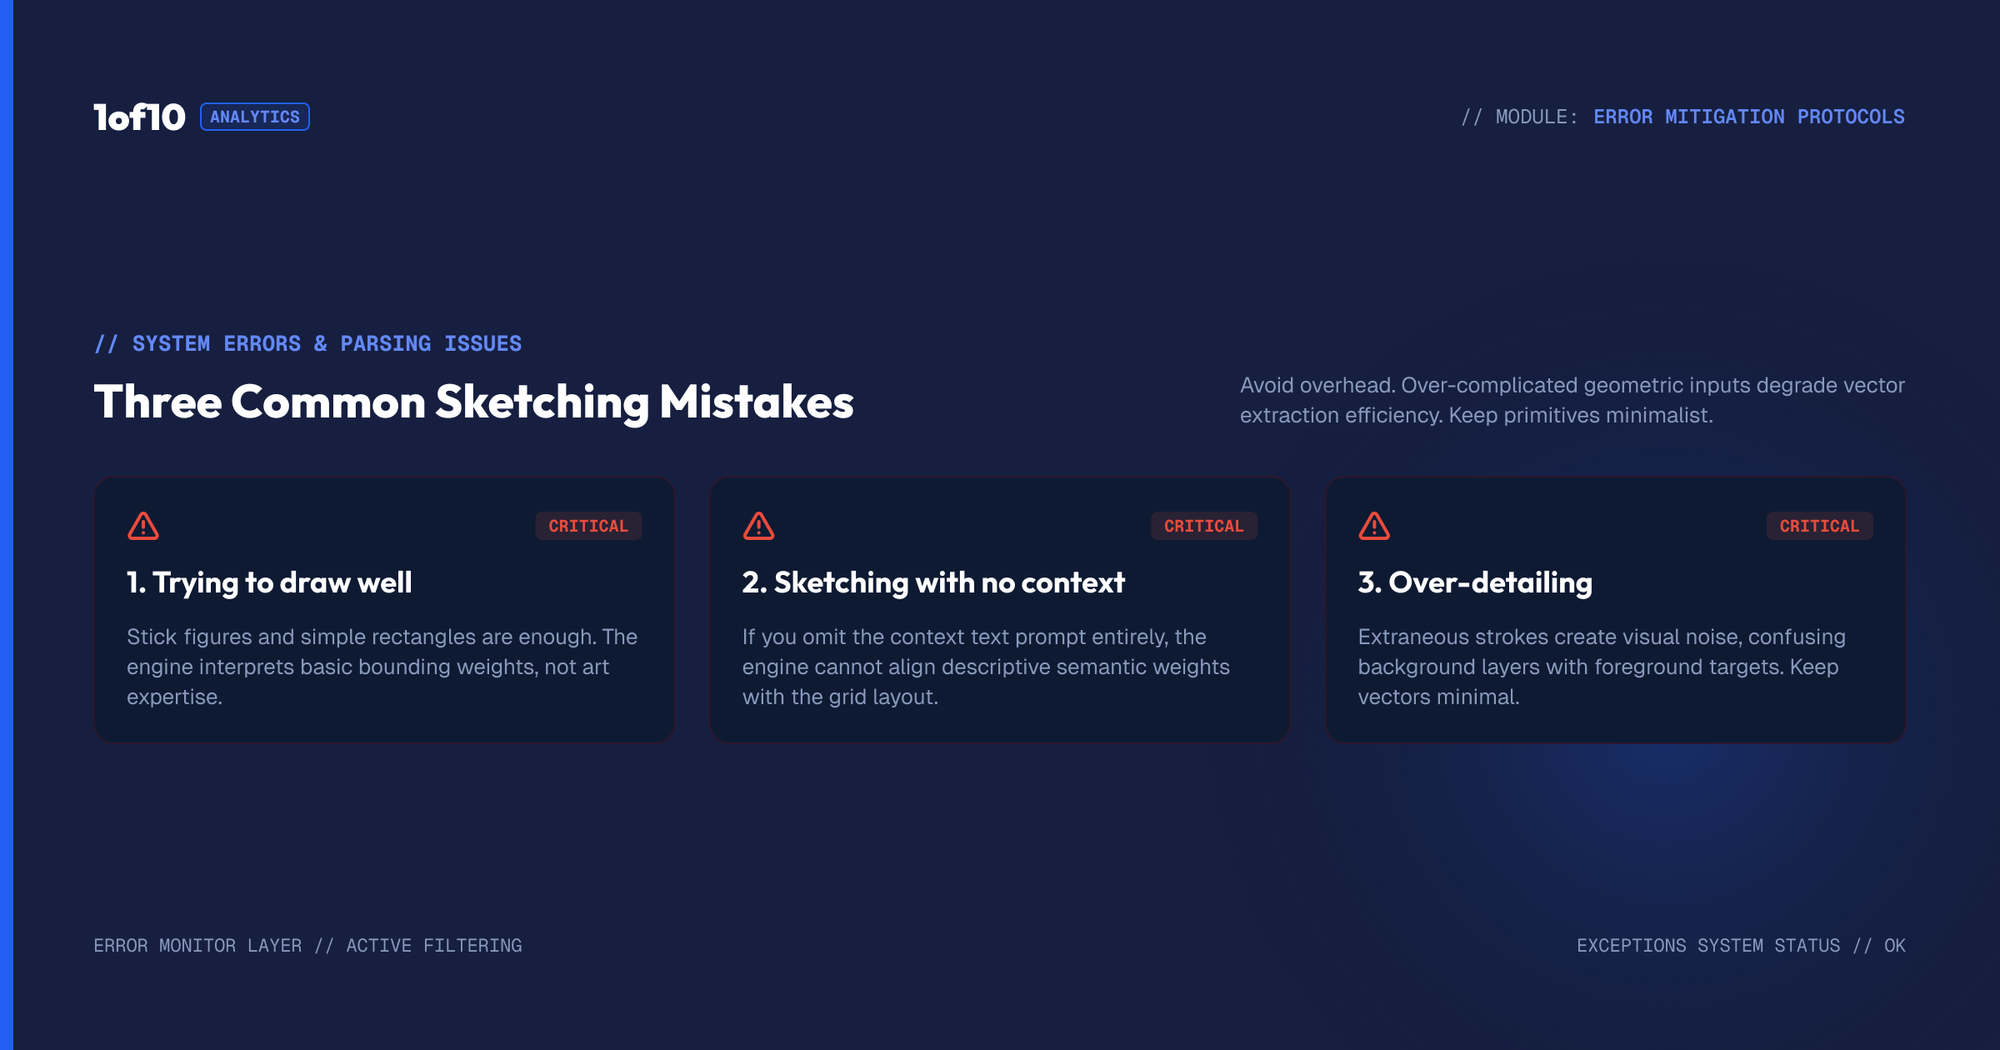
Trying to draw well. Wasted effort. The tool reads layout, not artistry. A stick figure is enough. Spend the saved time on the context text instead.
Sketching without context text. A drawing shows placement but not meaning. Always add a short prompt naming what the shapes are, or the tool will guess.
Over-detailing the sketch. You do not need to draw every element. Mark the key positions, the subject, the object, the arrow, the text spot, and let the tool fill the rest.
Using a sketch when a prompt would do. If the composition is loose, a detailed prompt is faster. Save sketching for when layout is the priority.
Forgetting you can upload instead of draw. If you already sketched on paper or a tablet, or you have a reference layout, upload it rather than redrawing it in the canvas.
Frequently asked questions
How do I turn a sketch into a YouTube thumbnail? Either draw a rough layout in the tool's sketch canvas or upload an existing sketch through the plus icon, then add a short prompt naming what the shapes are. The tool reads your composition and renders a finished, realistic thumbnail that follows it.
Does my sketch need to be good? No. A crude stick figure with an arrow is enough. The tool reads the composition, where things sit, not the quality of the drawing, and builds a polished thumbnail around that layout.
Why add text if I already drew the sketch? A sketch shows placement but not meaning. A rectangle could be anything. A short context prompt, the title plus a few guidelines, tells the tool what your shapes represent so it renders them correctly.
Can I upload a sketch instead of drawing in the tool? Yes. Upload a drawing from paper, a tablet, or another app, or a reference thumbnail whose composition you want to echo. The tool reads an uploaded layout the same way it reads one drawn in the canvas.
When should I sketch instead of just prompting? When the layout is the priority: you know exactly where everything should sit, you are recreating a proven composition, or words keep producing the wrong arrangement. For loose compositions, a detailed prompt alone is usually faster.
Can I sketch a vertical thumbnail for Shorts? Yes. Set the format to Shorts first, then sketch a tall layout with the subject centred or upper and text stacked above or below. Drawing in the right shape means the tool composes for the correct format from the start.
Can I reuse a sketch that worked? Yes, and you should. A layout that performed well is a proven template. Redraw the same arrangement for future videos and swap the object and text, which keeps a consistent, recognizable thumbnail style across your channel.
The takeaway
A sketch is the fastest way to control composition, and it does not need to be good. Draw a rough layout in the tool or upload one, add a short line of context naming the pieces, and generate. The sketch handles where everything goes, the words handle what everything is, and the tool turns the two into a finished thumbnail that matches the picture in your head. When layout is the hard part, stop describing and start drawing. It is the one input that turns the vague phrase "I want it arranged like this" into an instruction the tool can actually follow, and it costs you ten seconds and zero artistic skill to provide. The full workflow is in The Complete Guide to the 1of10 Thumbnail Generator.