
Upscale to 4K and Download: Plus Reviving Old Thumbnails
Download a thumbnail at standard resolution, or upscale to a sharper 4K file for 1 credit. The upscaler works so well it doubles as a repair tool: upload an old low-resolution thumbnail, edit it and upscale it to bring an old video's thumbnail up to current quality.
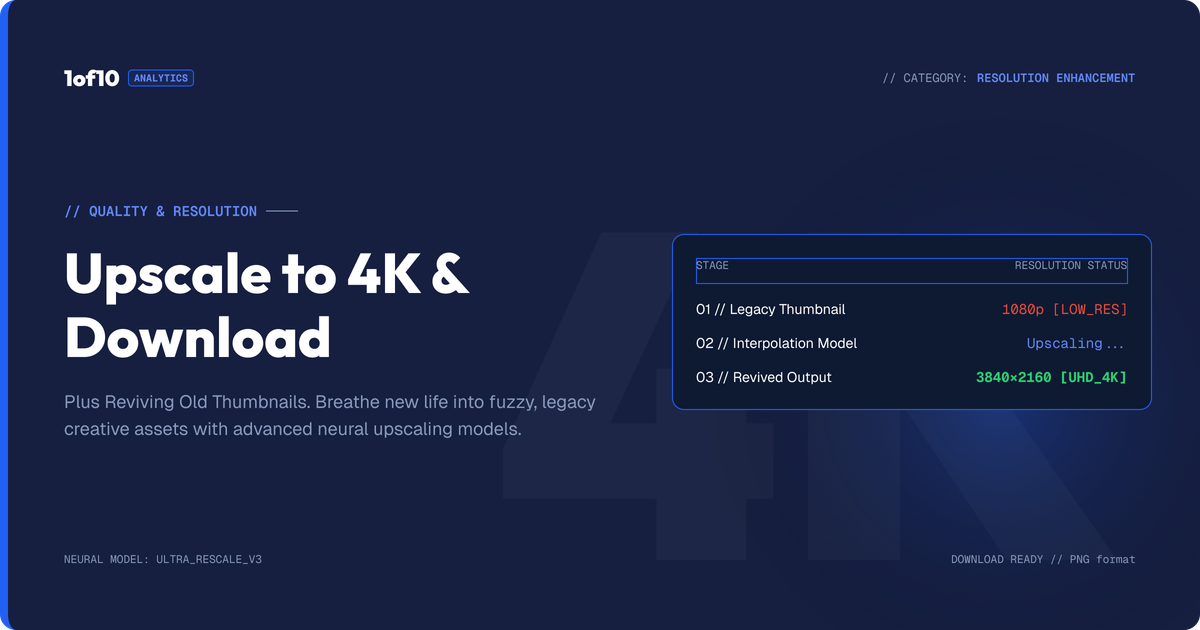
Quick answer: Download a thumbnail at standard resolution, or upscale to a sharper 4K file for 1 credit. The upscaler works so well it doubles as a repair tool: upload an old low-resolution thumbnail, edit it and upscale it to bring an old video's thumbnail up to current quality.
The last click in your thumbnail workflow is download, and there is a choice hidden in it that most creators do not think about. You can download the standard file, or you can upscale to 4K first and download a sharper, higher-resolution version. The upscaler is strong enough that it does more than improve new thumbnails: it can rescue old low-resolution ones that you thought were past saving. This guide covers the download options, how the upscaler works, when 4K is worth the credit, and the bonus workflow that brings tired old thumbnails back to life.
For the full tool, see The Complete Guide to the 1of10 Thumbnail Generator. This post is about the final export and the quality you take to YouTube.
The two download options
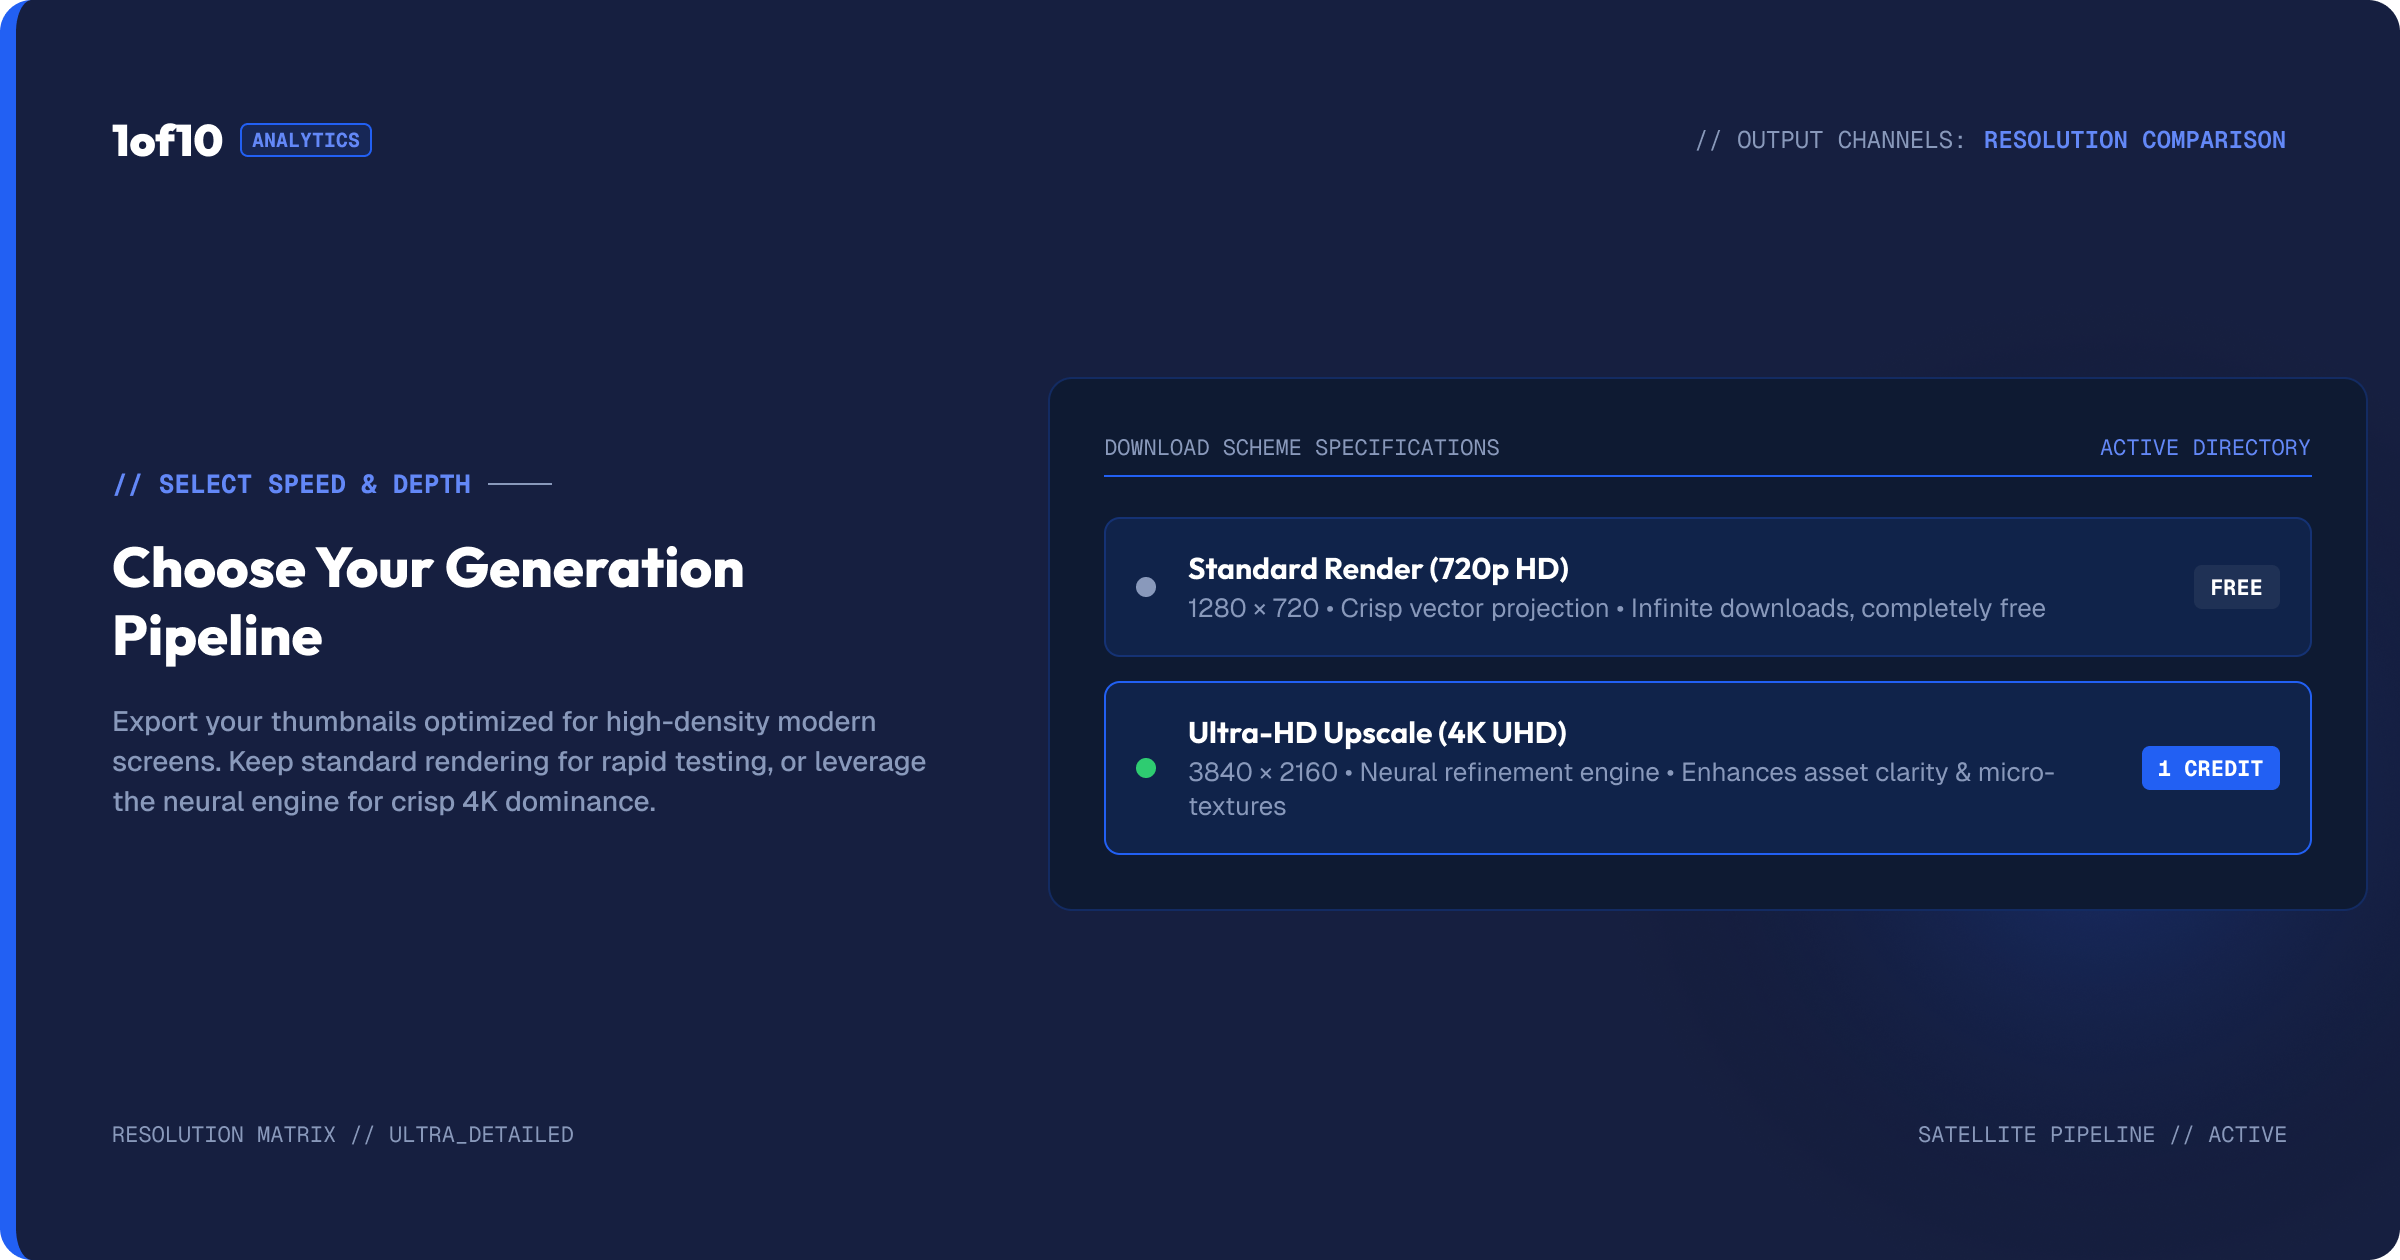
When your thumbnail is finished and you click download, you get two paths.
Standard download. This gives you the thumbnail at 1280x720, the standard YouTube thumbnail file. For most thumbnails this is exactly what you need, and it is ready to upload straight to YouTube.
Upscale and download in 4K. This runs the thumbnail through the upscaler to produce a higher-resolution, sharper version, for 1 credit, and downloads that. You choose this when you want maximum crispness, or when the base image is a touch soft and you want to sharpen it before it goes live.
Both produce an upload-ready file. The difference is resolution and sharpness. For a thumbnail that already looks crisp, the standard download is fine. For one that would benefit from extra sharpness, the 4K upscale is a single credit well spent.
How the upscaler works
The upscaler increases the resolution of your thumbnail and sharpens the detail, producing a cleaner, crisper image than the one you started with. It works especially well on images that are a little soft or low-resolution, where the gain is most visible. A slightly fuzzy thumbnail comes back noticeably sharper, with detail that reads better at every size.
This is more than a simple resize. Stretching an image larger normally makes it blurrier, because there is no extra detail to fill the new pixels. The upscaler instead reconstructs detail as it enlarges, so the bigger version is sharper rather than softer. That is what makes it useful as a quality tool and not just a resolution bump.
Why sharpness matters for thumbnails
It is easy to think resolution does not matter much for an image that often gets viewed small. It matters more than it looks. A sharp thumbnail reads cleaner at every size, and crucially it still holds up when YouTube displays it larger, on a TV, on a desktop home feed, on the watch page next to your video. A soft thumbnail that was acceptable at phone size falls apart on a big screen, looking fuzzy and low-effort exactly where a viewer has the most space to judge it.
Sharpness also signals quality. Two thumbnails with the same composition will not read the same if one is crisp and one is soft, the crisp one looks more professional, more trustworthy, more worth clicking. In a feed where viewers make snap judgments, that edge matters. Taking the extra step to export a sharp, high-resolution file is a small thing that protects how your thumbnail lands across every surface YouTube shows it on, from a tiny Shorts tab to a full-screen TV.
When 4K is worth the credit
The 4K upscale costs 1 credit, the cheapest action in the tool, so the question is less about cost and more about when it adds something.
When the base image is soft. If the generated thumbnail looks a little fuzzy or lacks crispness, the upscale sharpens it. This is the clearest win.
When you want maximum quality. For a flagship video where you want every edge to be clean, the upscale gives you the sharpest possible file.
When you are working from a lower-resolution input. If you uploaded a smaller image to edit, upscaling on the way out brings the resolution back up.
When you do not need it. If the standard 1280x720 download already looks crisp and sharp, you do not have to upscale. A clean image at standard resolution uploads and displays perfectly well.
The honest answer is that not every thumbnail needs 4K, but at 1 credit, reaching for it whenever an image could be sharper is an easy call.
The bonus workflow: reviving old thumbnails
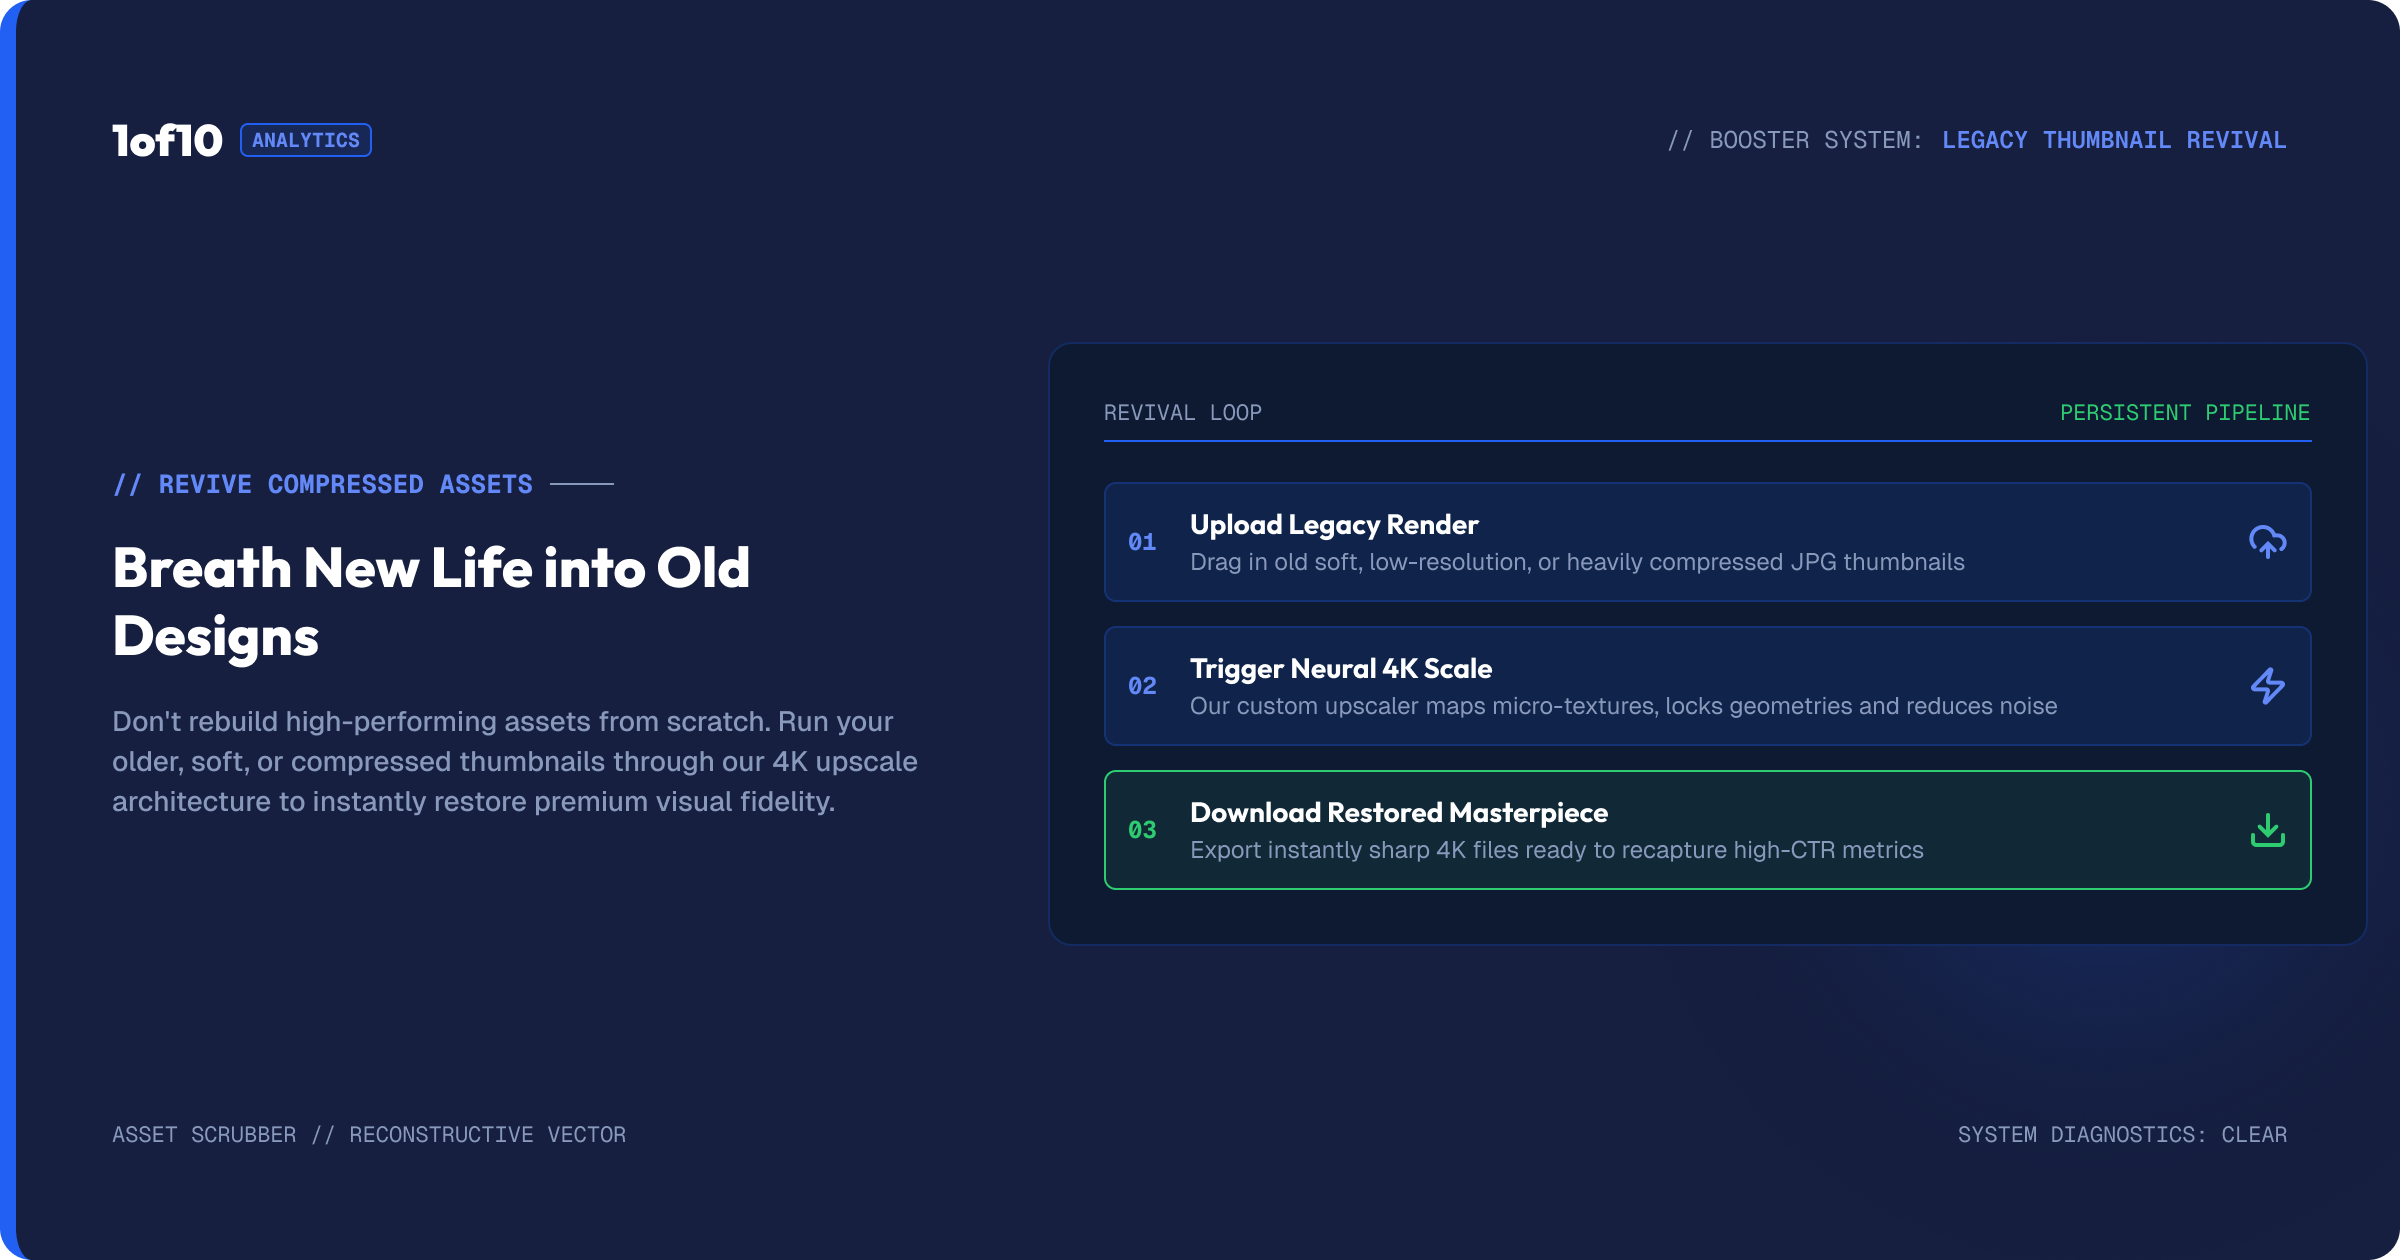
Here is the use that surprises people. The upscaler is not just for new thumbnails. It can refresh old ones.
If you have a thumbnail on your channel that you like but that looks low-resolution or soft by today's standards, you do not have to live with it or rebuild it from scratch. Upload it into the editor, make any small fixes you want, then upscale it. The old thumbnail comes back sharper and cleaner, often dramatically so if it was low-resolution to begin with. You can re-upload the improved version to refresh the look of an old video without redesigning anything.
This turns the tool into a repair shop for your existing library. Old thumbnails that have aged, that were exported at low quality, or that just look soft next to your newer work can be brought up to standard in a couple of minutes. Combine it with the editor's other tools, Magic Eraser to remove a dated element, Magic Edit to change a detail, Text and Fonts to update the typography, and you can give an old thumbnail a full refresh ending in a clean 4K export. For the resolution numbers behind all this, see YouTube Thumbnail Resolution: The Complete 2026 Guide.
A refresh workflow for an old thumbnail
Say you have a two-year-old video with a thumbnail that still gets clicks but looks dated and soft. Here is the refresh.
- Upload the old thumbnail into the edit mode.
- Remove what has aged with Magic Eraser, an old logo, a dated text style, a cluttered element.
- Update details with Magic Edit if needed, a color, a background element.
- Refresh the text with the Text tool, modern font, cleaner placement.
- Polish with Adjust and Crop so it pops.
- Upscale to 4K and download. The refreshed thumbnail is now sharp, modern, and ready to replace the old one.
A video that was underperforming partly because of a tired thumbnail can get a second life from a few minutes of work, no full rebuild required.
Building a back-catalogue refresh routine
The revive workflow is worth turning into a routine, because most channels have a back catalogue full of thumbnails that are quietly underperforming. Old videos still pull traffic from search and suggested, and a tired, soft, or dated thumbnail on one of them is leaving clicks on the table every single day. Refreshing those thumbnails is some of the highest-return work you can do, because the video already exists and already gets impressions, you are just improving the conversion on traffic you are already getting.
A simple routine: pull your list of older videos that still get views, sort by which have the weakest or most dated thumbnails, and work through them. For each, upload the old thumbnail, clean and update it with the editor tools, upscale to 4K, and re-upload. You are not making new content, you are upgrading the front door on content that already performs. A handful of these refreshes can lift the click-through rate on videos that have been quietly losing clicks for years. Track the metric you are improving with YouTube CTR: What's a Good Click-Through Rate, and prioritise the videos where a better thumbnail will move the most traffic.
Upscale versus starting over
When an old thumbnail is weak, you have two options: refresh it or rebuild it. The upscale-and-edit route is right when the existing thumbnail has a sound composition and concept but suffers from low resolution, dated styling, or small fixable flaws. You keep what works and upgrade the rest, which is fast.
Rebuilding from scratch in the generator is right when the old thumbnail is fundamentally weak, a bad composition, the wrong focus, a concept that never worked. No amount of upscaling fixes a thumbnail that was poorly designed to begin with; it just gives you a sharper version of a weak image. The decision is the same one that runs through the whole tool: if the foundation is good, polish and upgrade it; if the foundation is bad, generate a new one. For building a strong new thumbnail, see The Detailed-Prompt Method.
The final export, ready for YouTube
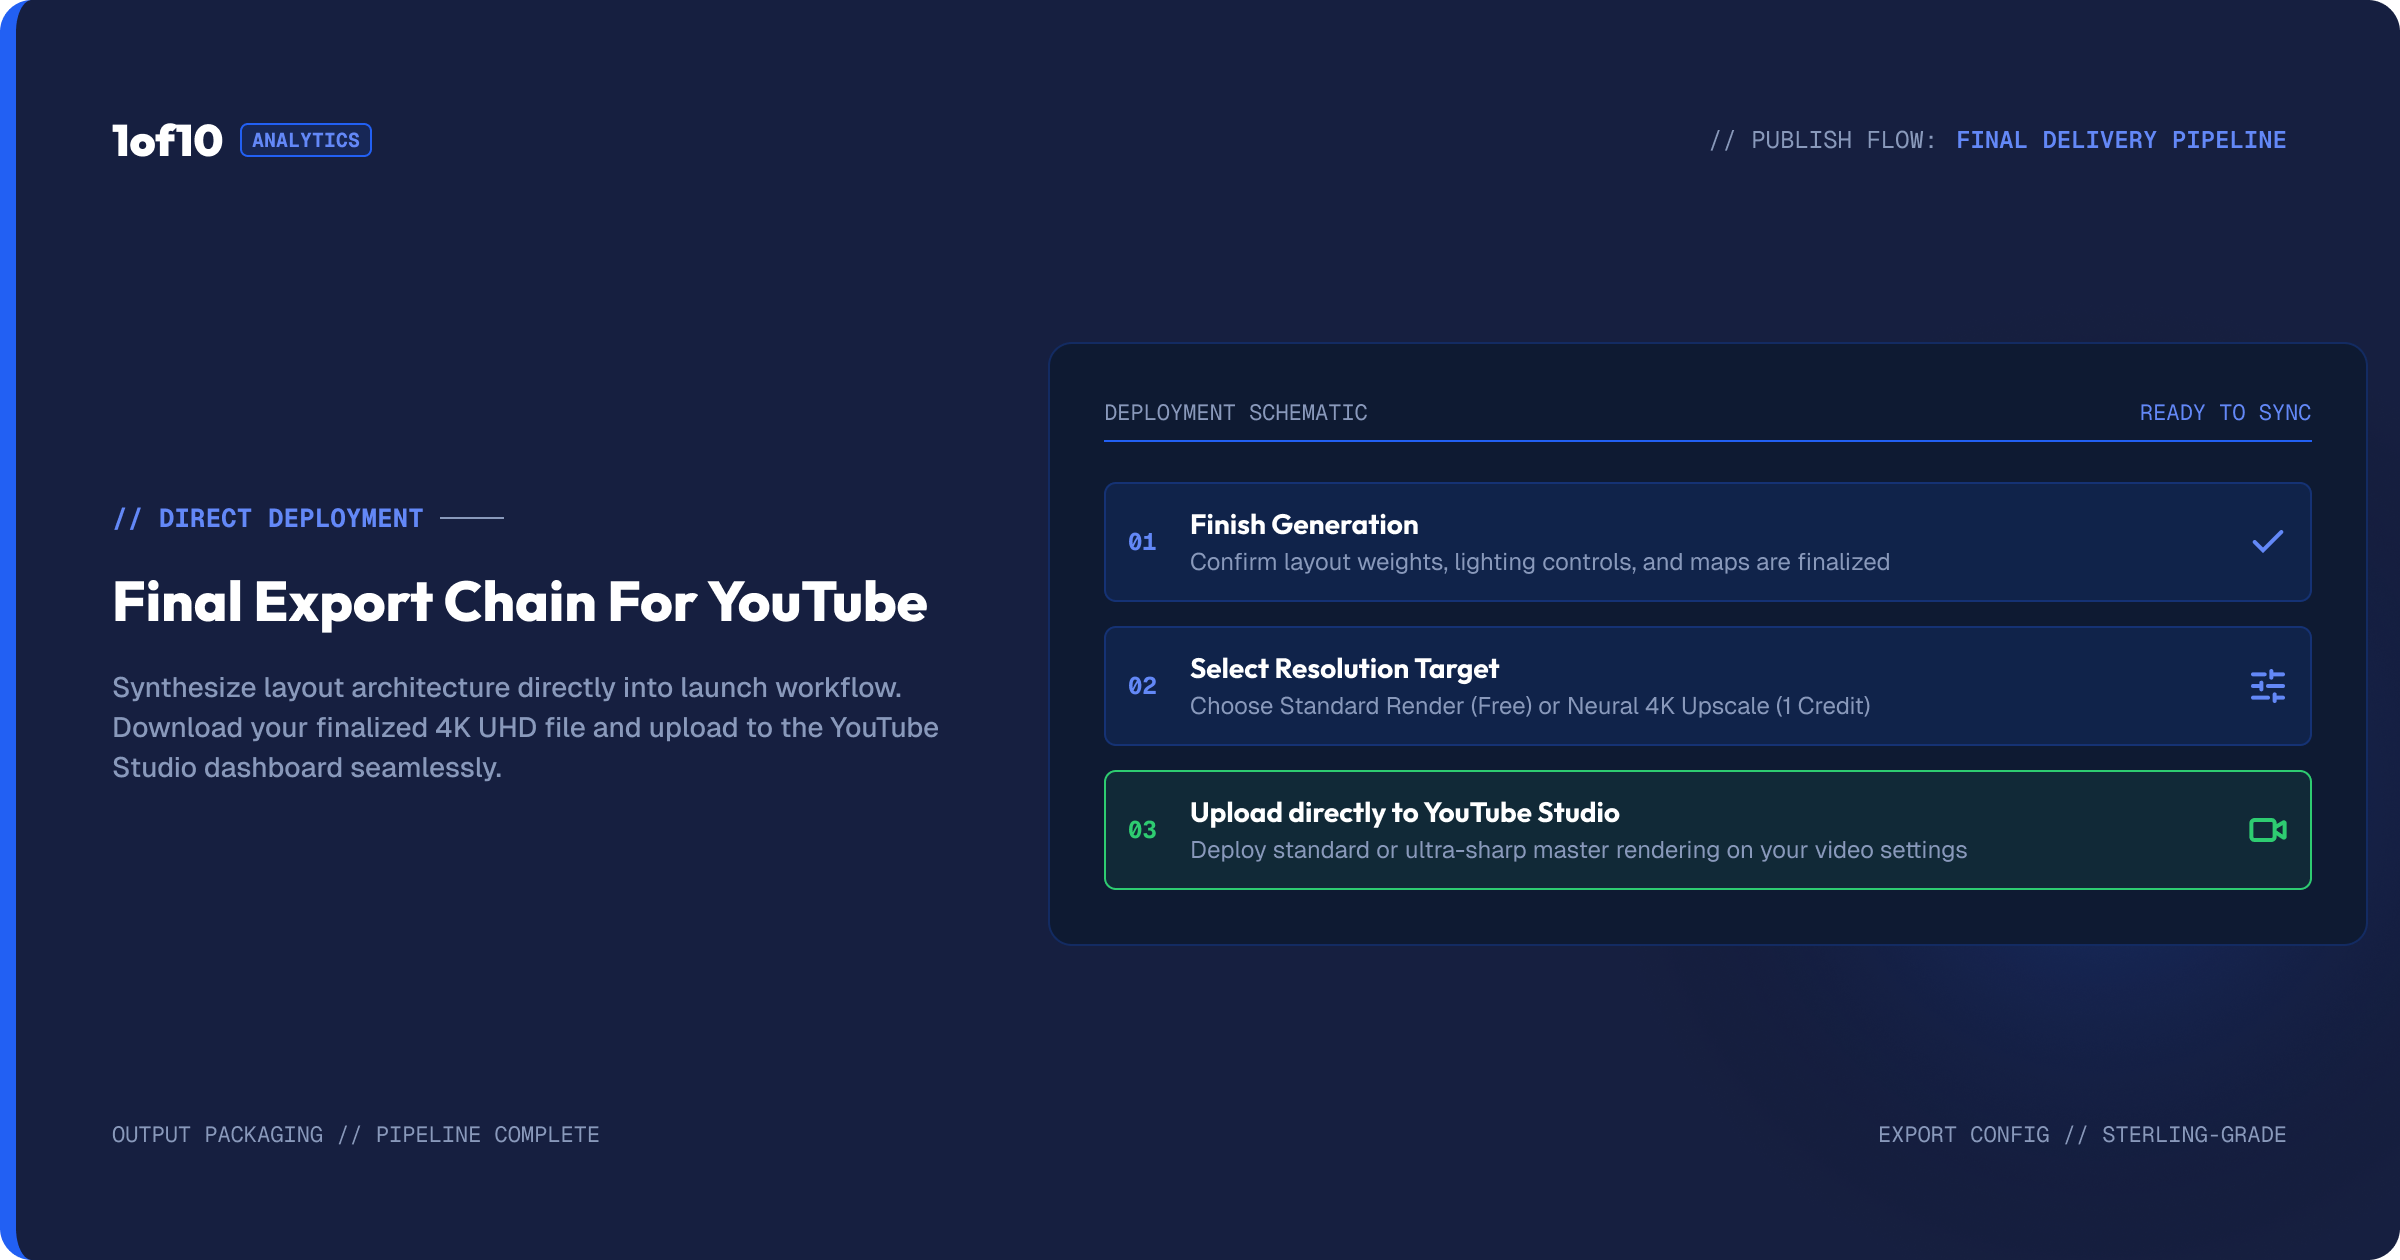
When you download, standard or 4K, you get a file ready to upload straight to YouTube. There is nothing else to process. The tool outputs the correct format for the type of thumbnail you chose, landscape or vertical, so the file fits where it is going. From here it is the normal YouTube upload: attach the thumbnail to your video and publish.
This is the end of the pipeline that started with a title and a linked channel. Get close in the generator, finish in the editor, polish, and export. The download is where all of that work becomes a file on its way to your channel.
What upscaling does not change
It helps to be clear about the limit, because the upscaler is sometimes asked to do a job it cannot. Upscaling improves resolution and sharpness. It does not improve composition, concept, lighting, or any of the design decisions that make a thumbnail work or fail. A poorly composed thumbnail, upscaled, is a sharper poorly composed thumbnail. The click comes from the idea and the execution, and those are set in the generator and the editor, not at export.
So treat the upscaler as the final quality step on a thumbnail that is already good, not as a fix for one that is not. If a thumbnail is not getting clicks, the answer is almost never higher resolution, it is a stronger composition, a better hook, a clearer face, or punchier text. Sort those out first with the generation and editing tools, then upscale the finished, strong thumbnail to give it the cleanest possible export. Resolution is the polish on good work, not a substitute for it.
The download is the last step, so finish first
Because the download is where everything becomes a final file, it is worth treating it as a deliberate stop rather than a reflex. Before you export, run a quick check: is the cleanup done, are the edits settled, is the text placed and readable, has the polish pass been applied. The file you download is the file that goes live, so the moment before download is your last chance to catch anything. Once you are sure the thumbnail is finished, choose standard or 4K based on whether it needs the extra sharpness, export, and upload. A thirty-second final check before that last click saves you from publishing a thumbnail with a fixable flaw still in it.
Common mistakes

Always upscaling, or never upscaling. Neither extreme is right. Upscale when the image is soft or you want maximum quality, skip it when the standard download already looks crisp. At 1 credit it is cheap, but it is not always necessary.
Throwing away old thumbnails instead of reviving them. A soft old thumbnail is not a lost cause. Upload, fix, and upscale to refresh it rather than rebuilding from scratch.
Expecting the upscaler to fix a bad image. The upscaler sharpens and enlarges, it does not redesign. If a thumbnail is weak in composition or concept, upscaling makes it a sharper weak thumbnail. Fix the design first, then upscale.
Downloading before the thumbnail is truly finished. The download is the last step. Make sure cleanup, edits, text, and polish are all done first, since the file you export is the file that goes live.
Forgetting the format. The tool exports the format you chose, landscape or Shorts. Make sure you set the right format for where the thumbnail is going before you finish.
Frequently asked questions
How do I upscale a YouTube thumbnail to 4K? When you finish a thumbnail in the 1of10 editor, choose the upscale and download option instead of the standard download. It runs the image through the upscaler for a sharper, higher-resolution 4K file, for 1 credit, ready to upload to YouTube.
Can I fix a low-resolution thumbnail? Yes. Upload the low-resolution thumbnail into the editor and use the 4K upscale to sharpen and enlarge it. The upscaler reconstructs detail as it enlarges, so a soft or low-res thumbnail comes back noticeably crisper rather than just bigger and blurrier.
What resolution does the standard download give me? The standard download gives you a 1280x720 file, the standard YouTube thumbnail, ready to upload. Choose the 4K upscale option when you want a sharper, higher-resolution version.
Is it worth upscaling every thumbnail? Not always. At 1 credit it is cheap, so reach for it whenever an image could be sharper, but if the standard download already looks crisp, you do not need to. The biggest gains come on soft or low-resolution images.
Can I refresh an old thumbnail with this? Yes. Upload an old thumbnail, fix or update it with the editor tools, and upscale it to bring it up to current quality. It is a fast way to refresh tired thumbnails on old videos without redesigning them from scratch.
Will upscaling fix a thumbnail that is not getting clicks? No. Upscaling improves resolution and sharpness, not composition, concept, or hook. If a thumbnail underperforms, the fix is a stronger design, made in the generator and editor, not a higher-resolution version of a weak image. Upscale strong thumbnails, redesign weak ones.
How much does the 4K upscale cost? One credit, the cheapest action in the tool. Because it is so cheap, reach for it whenever an image could be sharper, while remembering it is not always necessary if the standard 1280x720 download already looks crisp.
Does the download give me the right format for YouTube? Yes. The tool exports the format you selected, landscape for long-form or vertical for Shorts, as an upload-ready file. There is nothing extra to process before you attach it to your video.
The takeaway
The download is the last step, and it holds a choice worth making on purpose: standard at 1280x720, or a 4K upscale for 1 credit that sharpens and enlarges the image. Upscale when a thumbnail is soft or you want maximum crispness, and remember the bonus, the same upscaler revives old low-resolution thumbnails, turning the tool into a repair shop for your existing library. Finish the thumbnail, choose the right export, and send a clean file to YouTube. It is the quiet last step that makes sure all the work you put into the generator and the editor actually reaches your audience at the quality you built it. The full workflow, start to finish, is in The Complete Guide to the 1of10 Thumbnail Generator.